
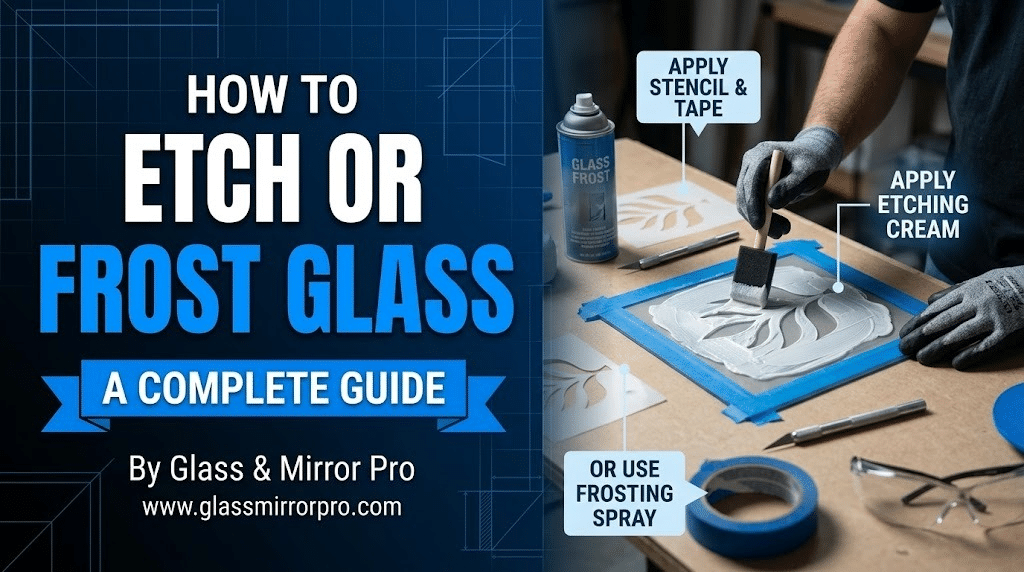
How to Etch or Frost Glass: A Complete DIY Guide
Published by Glass Mirror Pro | Expert Glass & Mirror Solutions
Have you ever admired the elegant, semi-opaque look of frosted glass on a bathroom window or the intricate, personalized designs on a set of wine glasses? Etching or frosting glass is a fantastic way to add privacy, diffuse harsh lighting, or create stunning customized gifts. While professional sandblasting is used for large-scale architectural projects, you can easily replicate this beautiful effect at home using simple tools and chemical etching cream. This guide will walk you through the entire process, ensuring a flawless and permanent frosted finish.
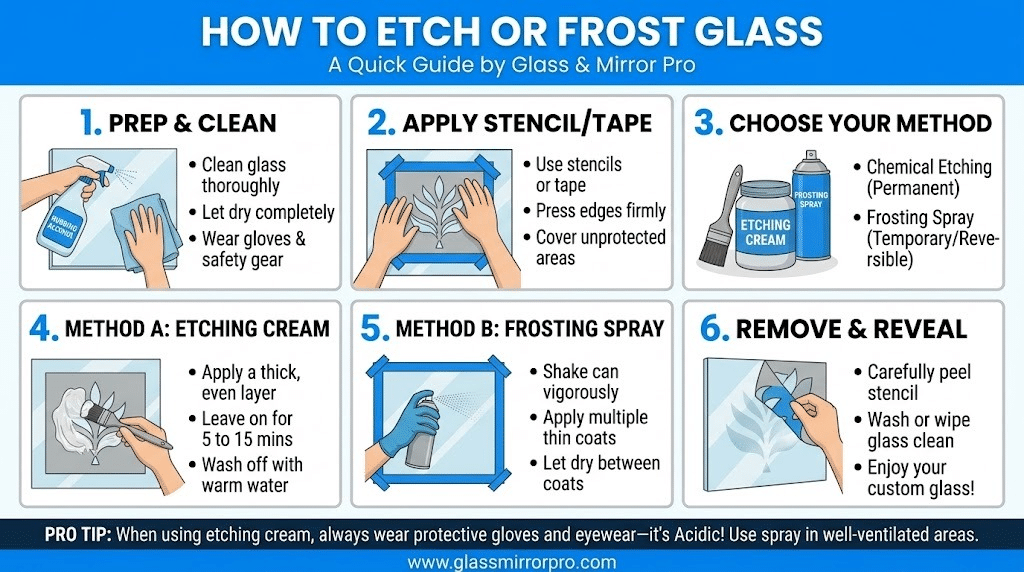
Visual Guide: The Glass Etching Process
1. Gathering Materials and Prepping the Glass
Before you begin, gather your supplies: glass etching cream (like Armour Etch), a foam brush or soft bristle brush, vinyl stencils or painter’s tape, rubbing alcohol, and safety gear. Because etching cream contains harsh chemicals like hydrofluoric acid or ammonium bifluoride, the Consumer Product Safety Commission (CPSC) strongly advises wearing protective rubber gloves and safety glasses, and working in a well-ventilated area. Start by cleaning your glass surface thoroughly with rubbing alcohol and a lint-free cloth. Any oil from your fingerprints or dust will act as a barrier, preventing the etching cream from working evenly.
2. Applying Your Stencil or Tape
The beauty of glass etching is that you control the design. If you want a simple frosted border, apply high-quality painter’s tape to mark off the edges. If you want a complex design, use adhesive vinyl stencils. The most critical step here is ensuring the edges of your stencil or tape are pressed down firmly. Use a credit card or a plastic scraper to smooth out all air bubbles along the design’s edge. If the stencil is loose, the etching cream will bleed underneath, ruining your crisp, clean lines.
3. Applying the Etching Cream
With your gloves on, dip your brush into the etching cream and apply a thick, generous, and even layer over the exposed glass areas. You want to dab it on rather than brush it like paint, ensuring there are no thin spots where the clear glass shows through. The chemicals in the cream physically eat away at the top microscopic layer of the glass, causing the permanent frosted effect. Leave the cream on for the exact time specified by the manufacturer—usually between 3 to 10 minutes. Note: Etching cream does not work on some types of Pyrex or heavily tempered glass, so test a small, hidden area first if you are unsure.
4. The Reveal: Washing Off the Cream
Once the time is up, take your glass item to a stainless steel or plastic sink (avoid porcelain sinks, as the cream can damage the glaze). While still wearing your gloves, run warm water over the glass and gently wash away all of the etching cream using a sponge. Make sure every trace of the cream is gone before you peel off the tape or stencil. Once clean, remove your stencil to reveal the permanent, beautiful frosted design left behind! Dry the glass thoroughly with a microfiber cloth to see the final result.
Need Flawless Frosted Glass for Large Projects?
While chemical etching cream is wonderful for small crafts, it is incredibly difficult to achieve a smooth, even finish on large areas like bathroom windows, shower doors, or office partitions. If you need perfectly uniform frosted glass for privacy or architectural design, skip the messy chemicals! The experts at Glass Mirror Pro provide professionally sandblasted and acid-etched frosted glass, custom-cut to your exact needs.



Leave a comment