
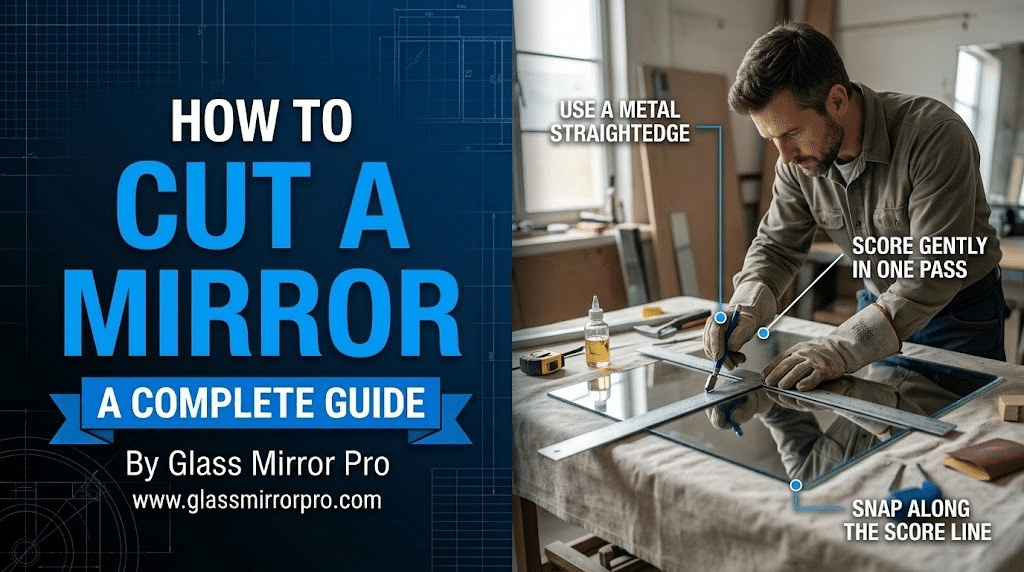
How to Cut a Mirror: A Step-by-Step DIY Guide for Flawless Results
Published by Glass Mirror Pro | Expert Glass & Mirror Solutions
Finding a beautiful vintage mirror at a thrift store or salvaging a large pane from a remodel is a great DIY win—until you realize it’s just an inch too big for your space. Trimming a mirror down to size can seem intimidating, but the truth is, you don’t actually “cut” a mirror like you cut wood. Instead, the process involves precisely scoring the surface and then strategically snapping it along the tension line. With the right tools, a steady hand, and proper safety precautions, cutting a mirror at home is highly achievable.

1. Gather Your Tools and Prioritize Safety
Before you begin, prepare a flat, clean workspace. Lay down an old blanket or a piece of cardboard to cushion the mirror. You will need a high-quality glass cutter (carbide tip is best), glass cutting oil, a metal straightedge, a fine-grit sanding block, and running pliers. Safety is paramount when handling raw glass edges. Following CPSC safety guidelines, you must wear thick, cut-resistant safety gloves and wrap-around safety goggles to protect your eyes from microscopic glass splinters that launch into the air during the snap.
2. The Secret to a Perfect Score
Clean the mirror surface thoroughly; any dust can derail your cutter’s wheel. Place the mirror face-up (you cut the glass side, not the painted silver backing). Measure your cut and clamp your metal straightedge down. Dip your glass cutter in the cutting oil. Starting at the far edge, press down firmly and pull the cutter toward you in one smooth, continuous motion. You should hear a distinct “zipping” or tearing sound. Never score the same line twice! Going back over a score ruins the tension line and dulls your cutting wheel instantly.
3. Executing the Snap
Once scored, the glass is begging to separate, but it needs a little encouragement. For long, straight cuts, slide a wooden dowel or a pencil directly underneath the score line, resting on your table. Place one hand firmly on each side of the score line and apply gentle, even downward pressure. The mirror should snap cleanly down the line. If you are trimming a narrow piece, use glass running pliers. Line up the center mark on the pliers with your score line, and gently squeeze the handles to apply even pressure until it fractures cleanly.
4. Smoothing the Edges (And a Vital Warning)
The newly snapped edge of your mirror will be razor-sharp. Take a fine-grit sanding block or a dedicated glass file and gently run it up and down the sharp corners to dull them—a process known as “seaming.” Important Warning: According to the National Glass Association (NGA), you can only cut annealed glass. If your mirror is tempered (safety glass), it is in a state of high internal compression. Attempting to score a tempered mirror will cause the entire piece to explode instantly. Always check the corners for a small, etched tempered stamp before you start.
Skip the Stress with Custom Precision
While DIY straight cuts are great for small craft projects, trying to cut a massive vanity mirror yourself is incredibly risky. Hand-cutting can leave jagged edges, and you cannot cut complex shapes, radius corners, or elegant bevels at home. Save yourself the stress and the mess! Let the true professionals at Glass Mirror Pro precision-cut your mirror to the exact fraction of an inch and deliver it with a flawless, factory-polished edge.


Leave a comment