
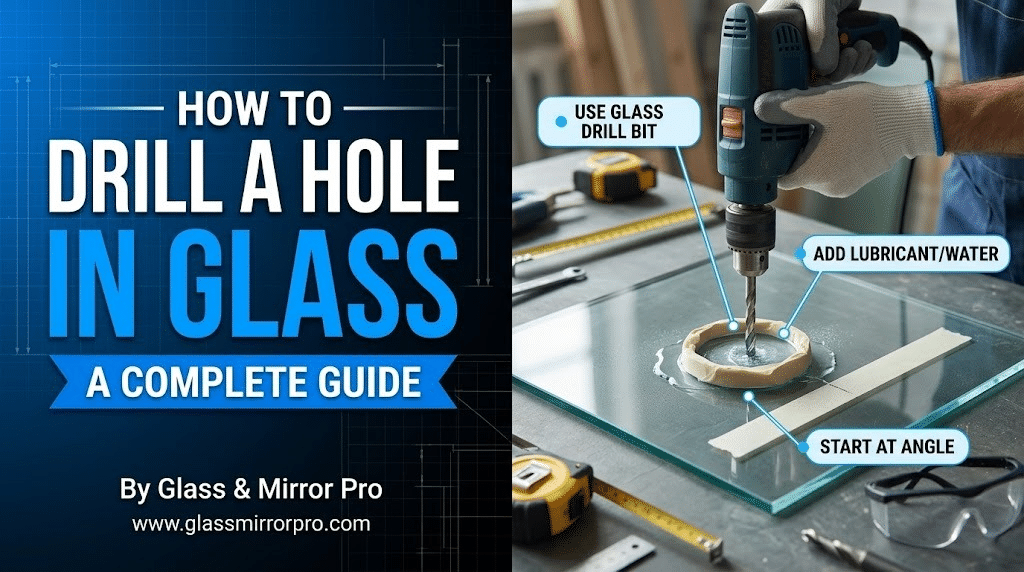
How to Drill a Hole in Glass: A Step-by-Step DIY Guide
Published by Glass Mirror Pro | Expert Glass & Mirror Solutions
Drilling a hole in glass can feel like a nerve-wracking task. One wrong move, or too much pressure, and your beautiful glass pane could shatter into a million pieces. However, with the right tools, a steady hand, and the proper technique, you can drill through glass safely and cleanly. Whether you are upcycling a wine bottle, creating a custom mirror mount, or building a glass terrarium, this guide will walk you through the process step-by-step so you can tackle your next project with confidence.
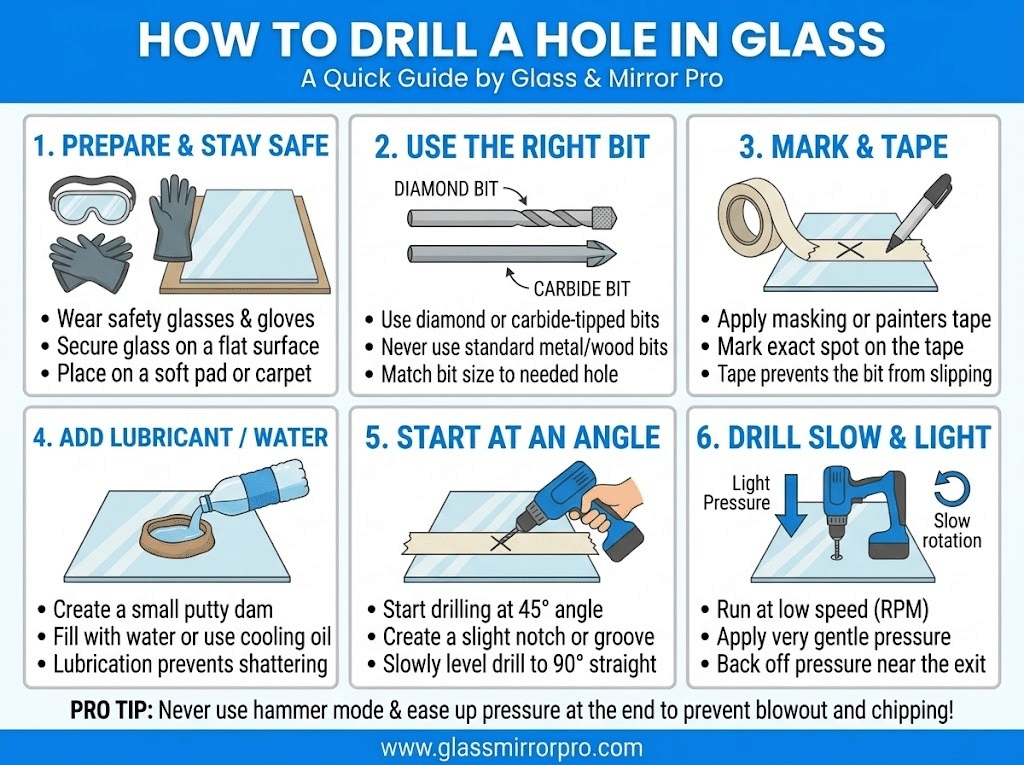
Visual Guide: Drilling Glass Safely
1. The Golden Rule: Check Your Glass Type
Before you even pick up a drill, you must know what kind of glass you are dealing with. You can successfully drill through standard annealed glass, mirrors, and glass bottles. However, you cannot drill through tempered glass. Tempered glass is heat-treated to hold immense internal tension; attempting to drill it will breach that tension and cause the entire sheet to shatter instantly. Always check the corners of your glass for a tempered manufacturer’s stamp before starting.
2. Gather the Right Tools
Using a standard wood or metal drill bit will immediately crack your glass. You must use specialized equipment designed to grind through the surface rather than tear it.
- Diamond Drill Bit: A diamond-coated hole saw or spear-point bit is essential for grinding a clean hole.
- Plumber’s Putty: Used to create a small water dam around the drill site.
- Safety Gear: Always wear heavy gloves and safety goggles. Following OSHA eye protection guidelines is a critical practice to shield your eyes from hazardous micro-shards of flying glass dust.
3. Create a Water Dam and Start Slowly
Friction creates heat, and heat causes glass to crack. To prevent this, build a small ring out of plumber’s putty around the spot you intend to drill. Fill this tiny reservoir with a few drops of water. This acts as a continuous coolant for your diamond bit. Place the glass on a flat, sturdy piece of scrap wood to catch the bit when it breaks through. Start drilling at a 45-degree angle to create a small initial groove—this prevents the bit from sliding across the slippery surface. Once the groove is established, slowly bring the drill to a 90-degree vertical position.
4. The “Low and Slow” Breakthrough
Keep your drill speed very low (around 400 RPM) and let the weight of the drill do the work. Never apply heavy downward pressure. As you feel the drill bit about to break through the bottom of the glass, ease off the pressure even more to prevent the exit hole from splintering, which is known as a “blowout.” Once the hole is complete, rinse the glass to remove the putty and any lingering glass dust safely down the drain.
Need Pre-Drilled Custom Glass?
While drilling glass is a great DIY skill, sometimes a project requires absolute perfection—or involves tempered safety glass that cannot be drilled at home. If you want to skip the mess and the risk, let the professionals at Glass Mirror Pro handle it. We custom-cut and precisely pre-drill your glass to your exact specifications before tempering it for maximum durability!



Leave a comment