
Steam Shower Installation: The Ultimate Guide to Building a Spa Retreat
Published by Glass Mirror Pro | Expert Glass & Mirror Solutions
Imagine coming home from a long, exhausting day and stepping directly into your own private, luxurious steam room. Transforming your daily routine into a high-end spa experience is entirely possible, but upgrading a standard bathroom into a steam shower is not a simple weekend DIY project. A steam shower is a completely different architectural beast compared to a standard shower enclosure. It requires meticulous vapor-proofing, specialized hardware, and floor-to-ceiling custom glass to create a safe, airtight environment. In this guide, we break down the critical components required for a flawless steam shower installation.

1. Vapor-Proofing: The 6-Sided Box
A standard shower only requires waterproofing on the walls and floor to protect against splashing liquid water. A steam shower, however, must be 100% vapor-proofed. Steam is a gas; if given the chance, it will permeate through standard grout and drywall, causing catastrophic structural rot inside your home’s framing. You are essentially building an airtight, six-sided box. The entire enclosure—including the ceiling—must be wrapped in a continuous, high-performance vapor barrier membrane before any tile is laid.
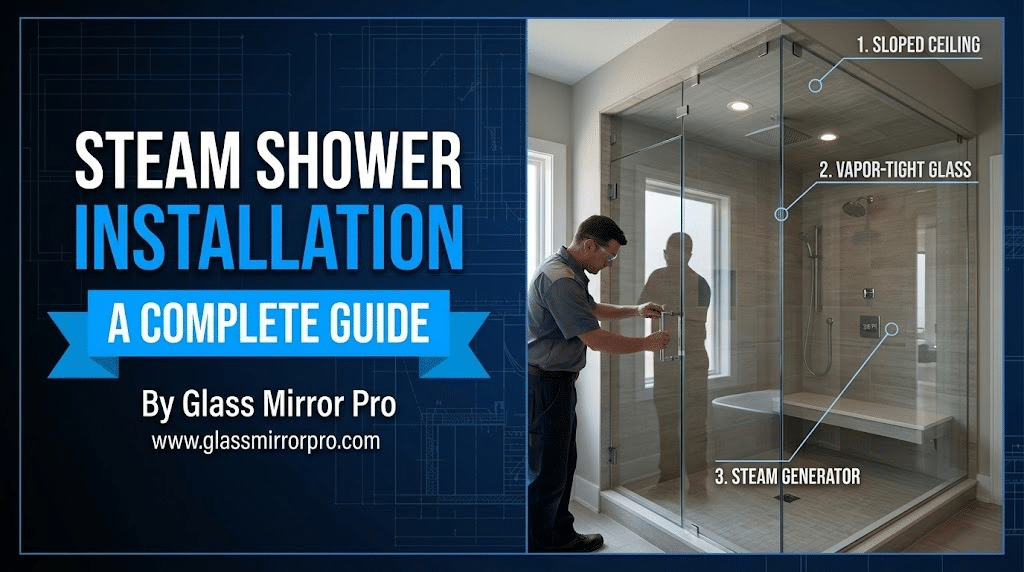
2. The Crucial Sloped Ceiling
If you build a steam shower with a perfectly flat ceiling, you are going to have a miserable experience. As the hot steam rises and hits the cooler ceiling tile, it condensates into water droplets. On a flat ceiling, this boiling hot (or freezing cold) water will continually rain down directly onto your head while you try to relax. To prevent this, the Tile Council of North America (TCNA) dictates that a steam shower ceiling must be sloped at a minimum of 2 inches per foot. This slope allows the condensation to gracefully run down the wall instead of dripping on the bather.
3. Sizing the Steam Generator
The heart of the system is the steam generator itself. The generator is roughly the size of a briefcase and is typically installed in an adjacent closet, a heated attic, or a vanity cabinet up to 60 feet away from the shower. The generator’s power (measured in kilowatts) must be precisely calculated based on the total cubic volume of the shower enclosure, combined with the materials used. For example, porous natural stone (like marble or granite) absorbs massive amounts of heat; if you use stone instead of non-porous ceramic or glass tile, you will need a significantly larger, more powerful generator to fill the room with steam.
4. Floor-to-Ceiling Glass and Transom Vents
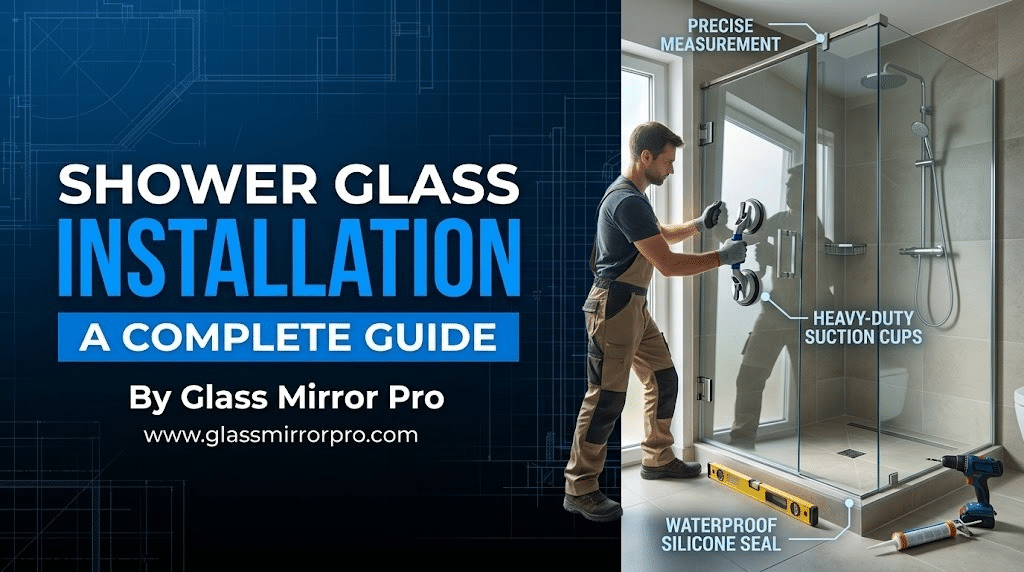
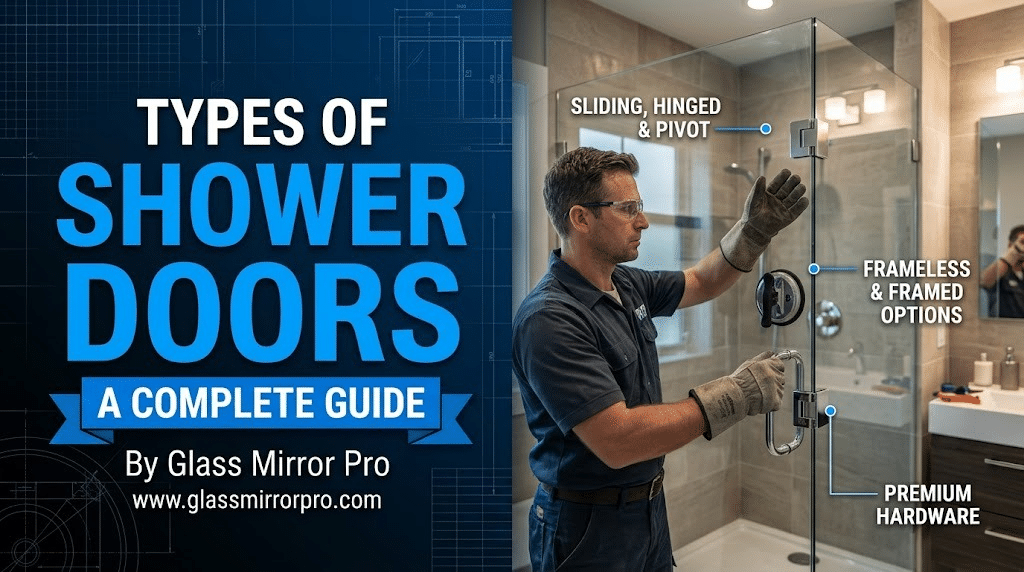
A standard frameless shower door leaves a large gap at the top to vent moisture. In a steam shower, that gap would let all your valuable steam escape into the bathroom. A proper steam enclosure requires floor-to-ceiling 3/8-inch or 1/2-inch tempered safety glass to create an airtight seal. To prevent the room from getting dangerously hot, steam showers feature an operable glass “transom”—a small, hinged window panel above the main door. You can tilt the transom open to vent steam or regulate the temperature without having to open the main heavy door.
Build Your Airtight Steam Retreat
A luxury steam shower demands absolute precision. If your glass doesn’t fit perfectly flush against your sloped ceiling, your steam will constantly leak, ruining your drywall and wasting energy. Don’t risk a DIY disaster! The structural experts at Glass Mirror Pro precision-cut and beautifully temper heavy-duty, floor-to-ceiling steam shower glass, ensuring a flawless, airtight fit for your personal spa.

Leave a comment