
The Ultimate Guide to Shower Glass Installation: A Step-by-Step Breakdown
Published by Glass Mirror Pro | Expert Glass & Mirror Solutions
Upgrading to a frameless or semi-frameless glass shower enclosure is the ultimate way to transform a cramped bathroom into a luxurious, spa-like retreat. It makes the room feel larger, highlights beautiful tile work, and vastly increases your home’s resale value. However, a stunning shower is only as good as its installation. Dealing with heavy tempered safety glass requires rigorous precision; a single measurement error or improper seal can lead to shattered panels or catastrophic water damage. In this guide, we break down the meticulous process professionals use during a high-end shower glass installation.

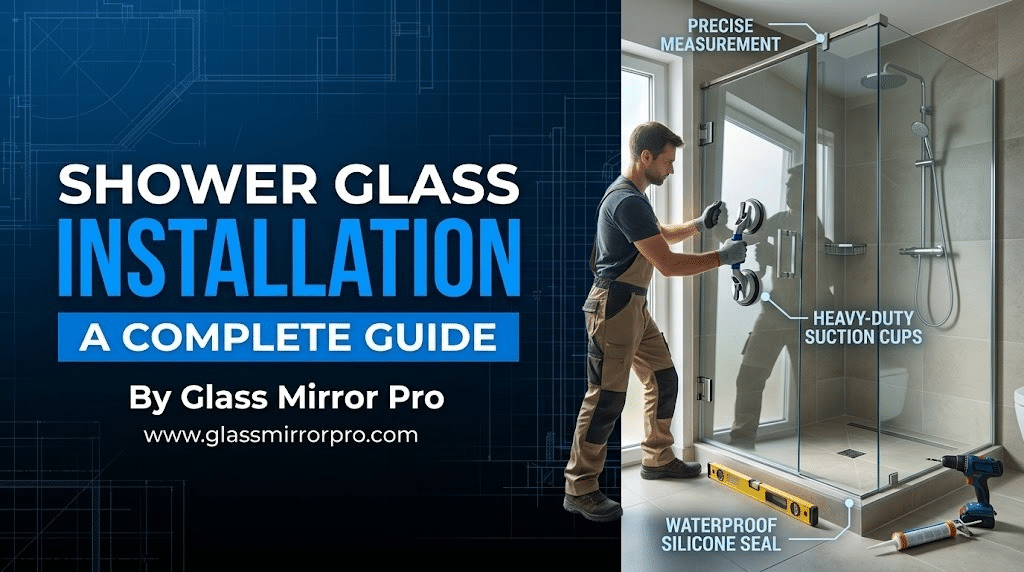
1. Precision Measurement: Checking for Plumb
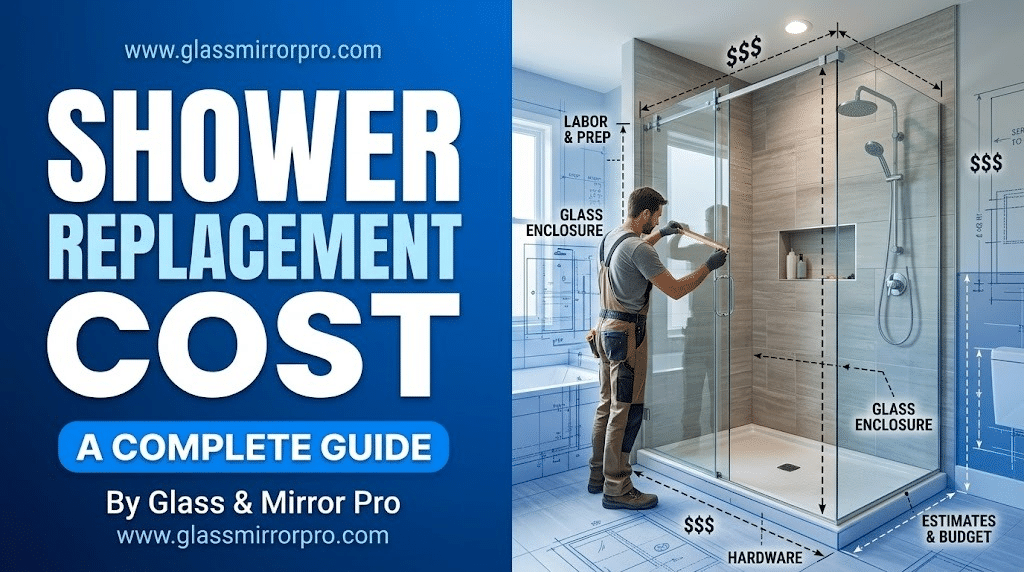
The most critical step happens before the glass is even ordered. Installers must check the walls and shower curb to see if they are perfectly level and “plumb” (vertically straight). Very few homes have perfectly straight walls. Because heavy 3/8-inch or 1/2-inch industry-standard tempered glass cannot bend to conform to a crooked wall, the glass must be custom-cut with a slight angle (an out-of-plumb cut) so it sits perfectly flush against the tile. Failing to account for this will result in massive, unsealable gaps that leak water onto your bathroom floor.
2. Mounting the Hardware and U-Channels
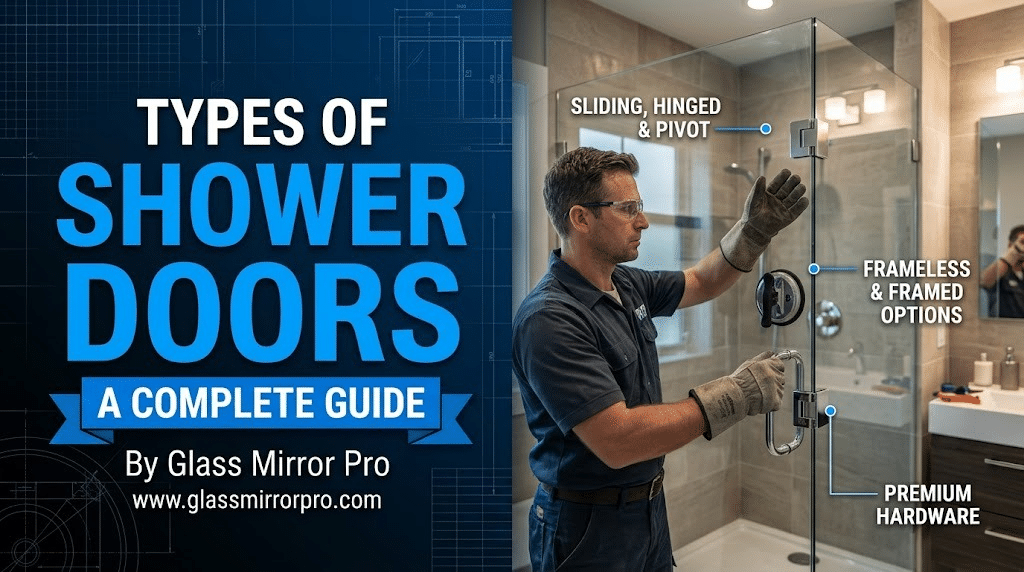
Once the custom glass is delivered, the installation begins by setting the structural hardware. For frameless showers, this typically involves drilling into the tile to mount metal U-channels (which hold stationary glass panels) or heavy-duty brass hinges for the door. Drilling into porcelain or ceramic tile requires specialized diamond-tipped masonry bits and a steady hand to prevent cracking the tile or piercing the waterproof membrane behind the wall. The hardware must be anchored directly into wooden wall studs to safely bear the immense weight of the glass doors.
3. Setting and Shimming the Glass
Moving the glass into place is a delicate, two-person job requiring professional suction cups. The stationary panels are lifted and set into their clips or channels first. Installers use tiny rubber setting blocks (shims) beneath the glass. This ensures the raw edge of the tempered glass never touches bare metal or hard tile. According to safety glazing standards, tempered glass is incredibly strong on its face, but a single sharp tap to its edge on a hard tile floor can cause the entire pane to explode. The door is hung last, and the hinges are meticulously adjusted so the door swings smoothly without dragging or binding.
4. Sealing for a Watertight Finish
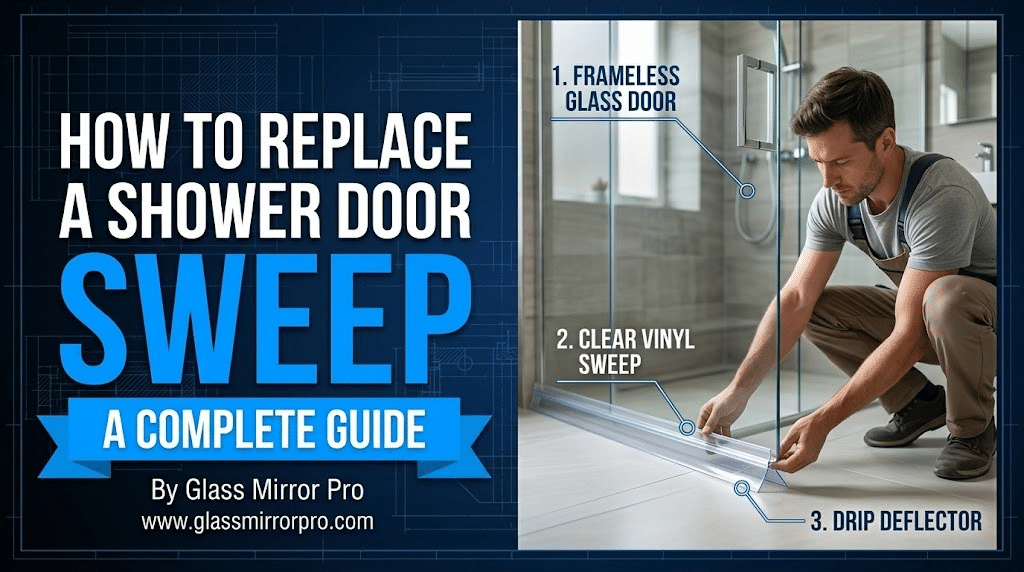
The final, critical step is waterproofing the enclosure. Clear polycarbonate sweeps are attached to the bottom and sides of the swinging door to deflect water back into the shower pan. Then, a thick bead of 100% mold-resistant, architectural-grade silicone is expertly gunned along all seams where the stationary glass meets the wall and floor. It is absolutely essential to wait a minimum of 24 to 48 hours for this silicone to fully cure before turning on the shower, otherwise, the seal will fail and cause severe water leaks into your subfloor.
Start Your Bathroom Transformation Today
A perfect shower glass installation requires exactly that—perfectly cut glass. You cannot force a standard-sized, big-box store door into an out-of-plumb space. If you want a luxurious, leak-free frameless shower, you need custom glass tailored directly to your bathroom’s exact dimensions. The experts at Glass Mirror Pro precision-cut and temper high-quality shower glass panels to your exact specifications.

Leave a comment